The new boards arrived early this week! Here’s a side by side comparison of the old board and the new one (notice the difference in the of the white silkscreen around the tubes – the new silkscreen reflects the actual size of the tube, whereas before I think I just plotted down a circle of arbitrary radius).
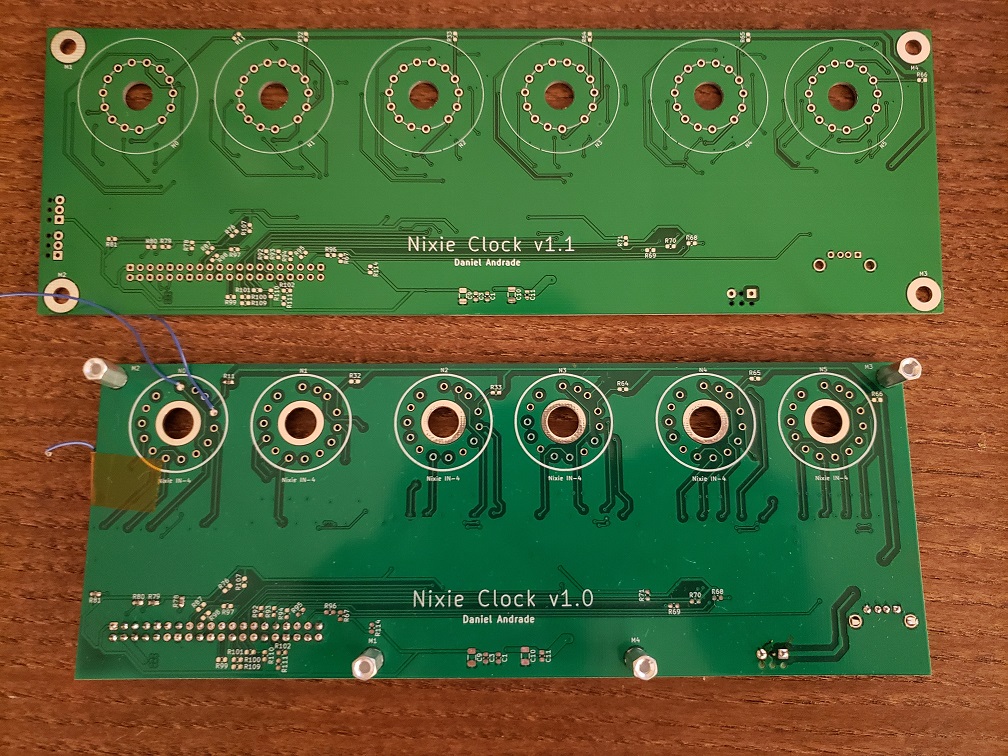
Board comparison. I’m not super jazzed about the new green soldermask color, but otherwise the new board is all right.
I finally bit the bullet yesterday and installed one of the tubes on the new board (after installing the decoder and series resistors and testing that out). It was a bit of a process because it turns out that the alignment of the tube itself to the pins is not completely controlled. So when I put all six of the tubes down on the board (with no solder), they were all at slightly different angles!
I may have to come up with a way to combat this if I want to make clocks for everyone in my family, but for now, I settled with bending the pins and aligning it manually. My girlfriend gave me the idea to align the two white dots using a box and my calipers as right angles, as seen below.
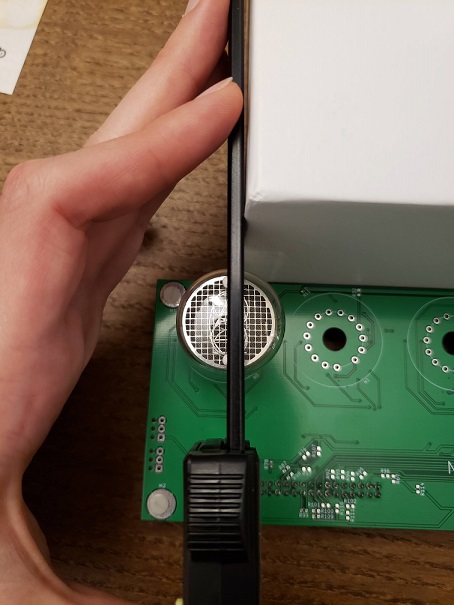
Aligning the Nixie tube using the two dots and two straight-edges 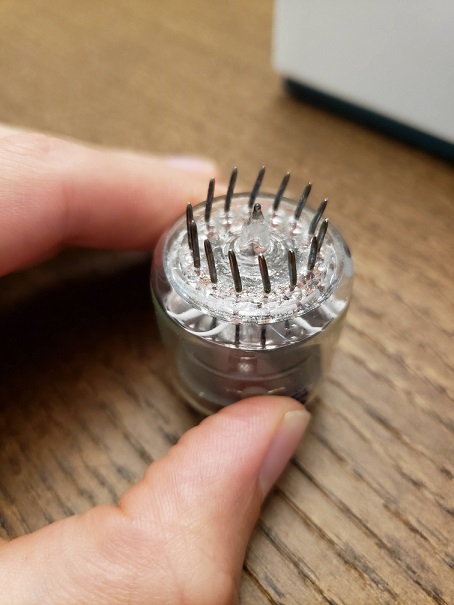
The pins turned out pretty wacky, right? 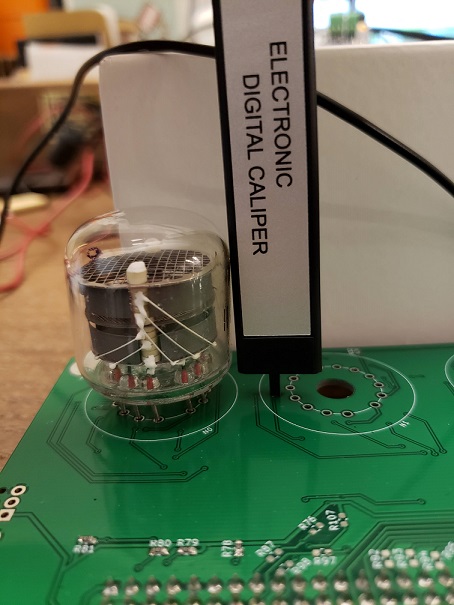
Making sure the height of the tube is even all the way around
After this I tested each digit manually (by driving each pin with the supply and a series 15kΩ resistor), soldered it down, hooked it all up, and wrote a little program to count up (and then go back to zero). I made a little animation to show you!

Testing each digit before fully committing and soldering the tube down 
It works!!
Now there’s no excuse. It’s time to get everything else soldered down while I wait for the enclosure to arrive!