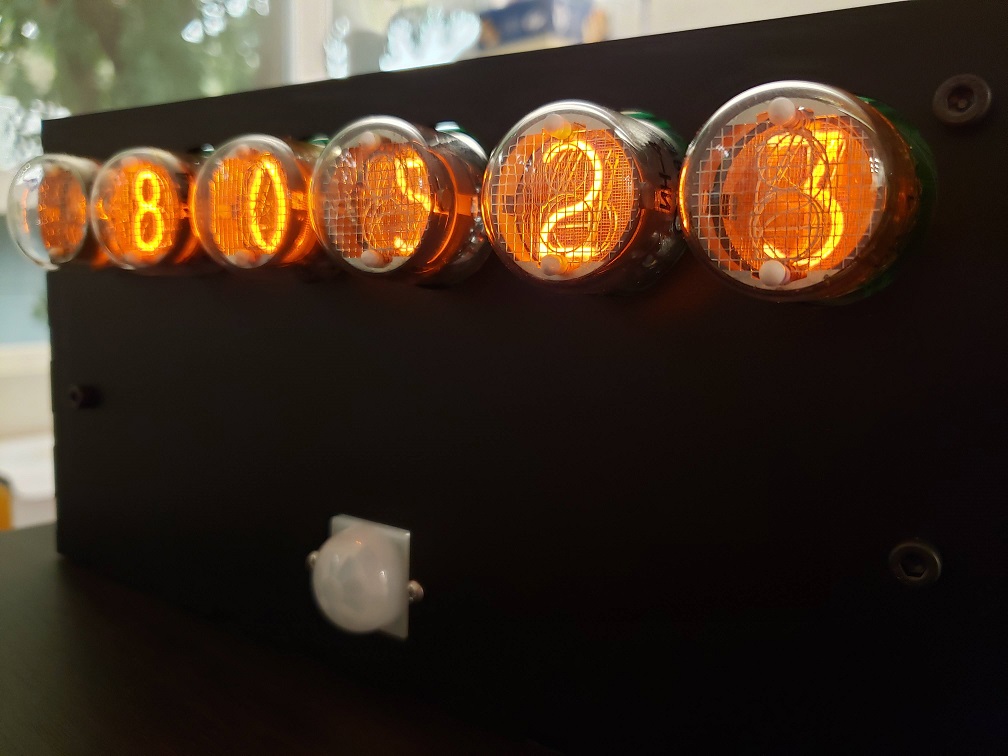
The clock from an odd angle 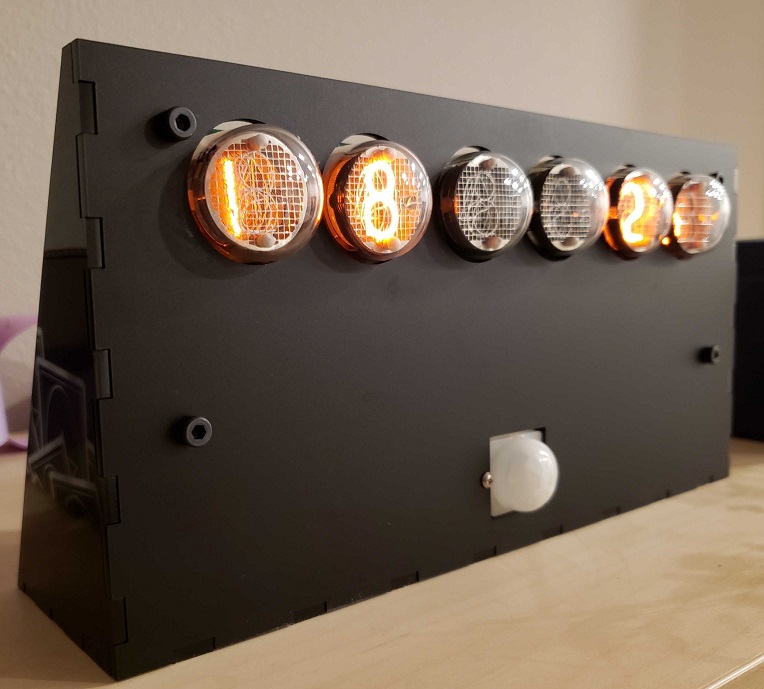
Full view of the enclosure 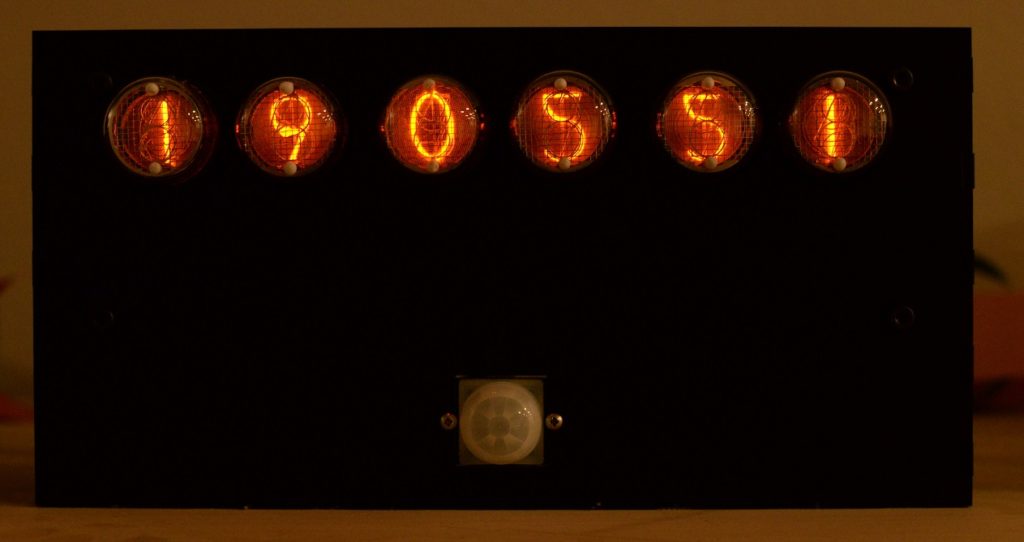
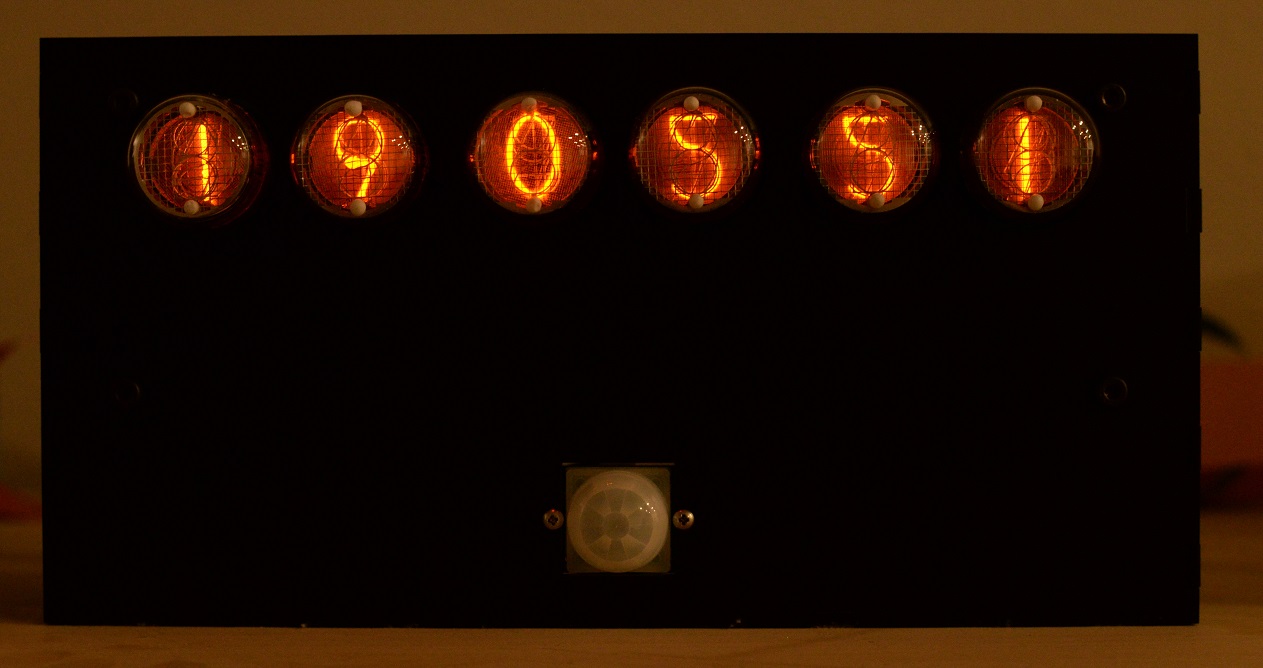
The clock showing the time (darker image so you can better see the glow of the tubes)
Project Description
The goal of this project was to create a simple six digit clock (HH:MM:SS with no colons) with a nixie tube display. I also wanted to put the project in a nice looking box, but as this was my first enclosure design I tried to keep it conservative.
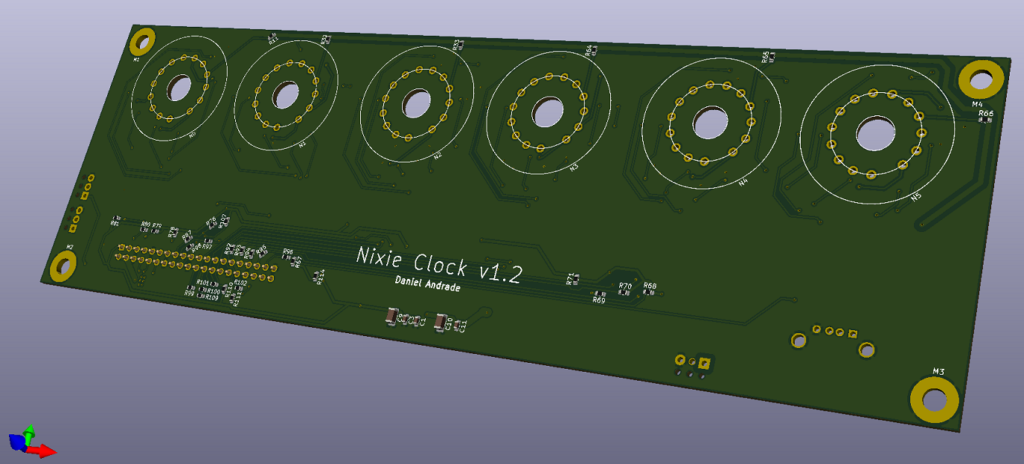
I made a board with the tube footprints, BJTs, decoders, and necessary connectors. I used a Raspberry Pi 3 to drive this board through a 40 pin ribbon cable and SURFNCIRCUITS‘ nixie supply to generate the 170V from the 5V RPi supply. I also put in a pushbutton to cycle through different display modes (time, internal and external temperatures, Air Quality Index, and alternating) and a PIR sensor used to turn off the tube display when no motion has been detected for a while.
Block Diagram

Files
This project was designed in KiCAD (and the enclosure was designed in FreeCAD). It is open source hardware released under the MIT License. You can find a git repository here and I’ll try to keep the PDF versions of the schematic and PCB layers updated below (if in doubt, always trust the repository to be more up to date)! The repository includes all the design files for the enclosure, the PCB, and the code.
Further Reading
Click here to read the first post in the series and get started on this adventure with me! If you’re just catching up, take a look at all the posts in this series below in inverse chronological order.